Installing the Phonein Mobile app#
You need to download and install the Phonein Android and iOS mobile app before you can create a Phonein account and start using your Phonein smart intercom system.
To Install the Phonein Android App#
- On your Android device, open Google Play Store and search for Phonein.
- Click Install.
- Once the app is installed, click Open. You'll then be asked to create a Phonein account.
To Install the iOS App#
- On your iOS device, open App Store and search for Phonein.
- Click Install.
- Once the app is installed, click Open. You'll then be asked to create a Phonein account.
The Phonein mobile app needs access to your phone's audio for making and answering calls.
Creating a Phonein Account#
After installing the mobile app, you'll be asked to register and create a Phonein account so that you can link your Phonein Intercom to your mobile device.
To create a Phonein Account:
- Run the app installed on your mobile device.
- On the Registration page, enter your email address and password, then reenter your password again.
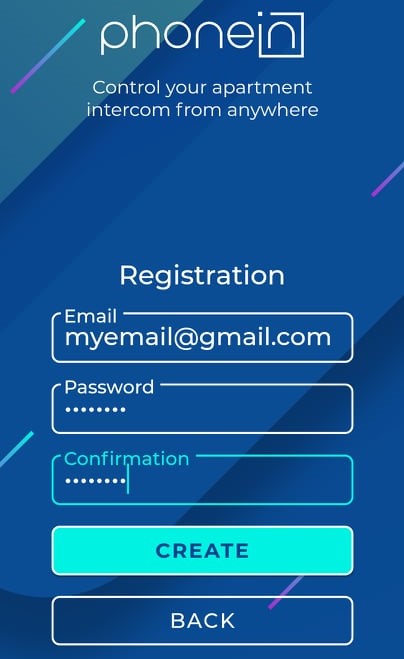
- Click Create.
- Go to your mailbox and confirm your account.
- Log on to the mobile app using the credentials you entered in Step 2.
You can now link your mobile device and Phonein Intercom.
Adding a Phonein Intercom Device to the Mobile App#
When you first log on to the mobile app, you will be greeted with a welcome page, which will ask you to link your installed Phonein device to the mobile app.
NOTE: The Phonein Intercom needs to be installed first before you can link it to your mobile device. For more information, see Installing Phonein Intercom.
To add a new device:
- On the Welcome page, press Add New Device.
- Enter the Device Name, and the Device UUID (you can find the UUID on the back of the Phonein device as a QR code, and as text).
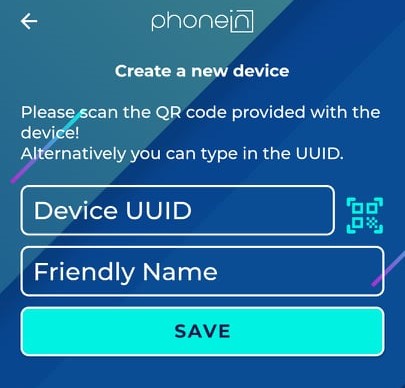
- Press Save to add the device.
The name of the new device appears on the Home page. From here, you can view its settings.
Connecting your Phonein device to your WIFI network#
For connecting your Phonein device to your wifi network, you will only need your Phonein, and a smartphone.
Phonein currently only supports 2.4GHz wifi networks. If you have 5GHz wifi only, please configure a 2.4GHz network too. You can do it simply in your router settings, for more information please check with your provider.
- Press the Hamburger
 menu on the top right.
 - Press Setup Wifi.
- Follow the steps on the Wifi Provisioning page in the app.
Set up your doorbell system type and doorbell number#
The final step before you can finally use your Phonein device, is to tell it your door phone system type, and doorbell number.
The system type of your door phone is usually written somewhere on the outdoor unit. The doorbell number is the number you have to type on the outdoor unit, to call your flat. If your system doesn't have a keypad, but a separate button for each flat, you can leave the doorbell number as 0.
To set up your system type:
- Press the Gear icon to the right of the device to view the device settings.
- Press the arrow next to the Base Station tab.
- Choose your system type from the list. (If you don't find your system type here, please contact us!)
- Press Save.
To set up your doorbell number:
- Press the Gear icon to the right of the device to view the device settings.
- Press the arrow next to the Flat number tab.
- Type in your doorbell number.
- Press Save.
Your Phonein device is now ready to be used! Please check out the User Guide for more information about the Phonein App.